
How to make your photos look more professional; Post-Processing for beginners
Have you ever said: Why don’t my photos look like that? Or How do they get those colours? Or how do I make my photos look like a professional? I took the best photo of my life today. When I brought the photos up on my screen, it didn’t look anything like I saw. It looked so good on my camera’s LCD, but now?
In this post we will reveal the least hidden secret tool of the professional photographer, Post-Processing e.g. the digital darkroom.
This is nothing new, nor is it a digital phenomenon, it was the same with film. With film, it is possible to alter the basics such as aperture, shutter speed and, white balance and the overall aesthetic of the final image. Although far less convenient to preform, using an enlarger and filters, the ease and simplicity of a using digital slider, does not make it deception. It has always been necessary to adjust the final image to achieve something more like reality, nothing has changed despite modern digital cameras it is faster and easier. Even the best photographers make at least minor adjustments to their images and spend as much if not more time in Post-Processing as shooting.
One of my idols, Ansel Adams, was known for spending an entire day in the darkroom, just to produce one image.
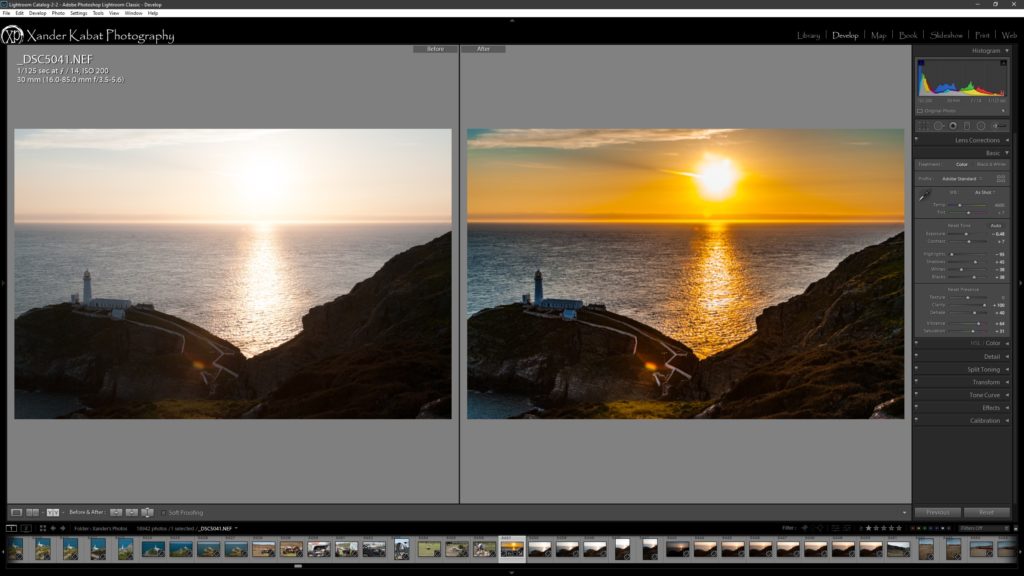
Of course, it’s always best to get the exposure as close as possible in-camera, post-processing makes it possible to perfect that exposure, especially if you shoot in RAW. Post-processing won’t allow you to recover from extreme exposure errors or bad composition – but you can make significant adjustments.
The age-old adage rubbish in rubbish out still applies, so knowing how to shoot is extremely important. Post-Processing often can not take a poorly composed shot and make it a winner, the data must be there. How the to capture the data is addressed in other blogs, the first is “THE RAW TRUTH”, which discusses the difference between jpg and RAW files, and why you should shoot in RAW.
Difference between post-process and image manipulation.
At this point I need to digress for a few lines there is a MAJOR difference between Post Processing and Photo manipulation
Post Processing: Is only touching up or basic editing. The nature and content of the image stays the same as it was captured by a camera, and only enhanced to either be closer to what our eyes saw. I think the Natural History Museum’s Photography Competition Rules sum it up better then I could. Legitimate Post-Processing includes: “adjustments to tone and contrast, burning, dodging, cropping, sharpening, noise reduction, minor cleaning work …” Basically, you are not allowed to “deceive the viewer or misrepresent the reality of nature.”
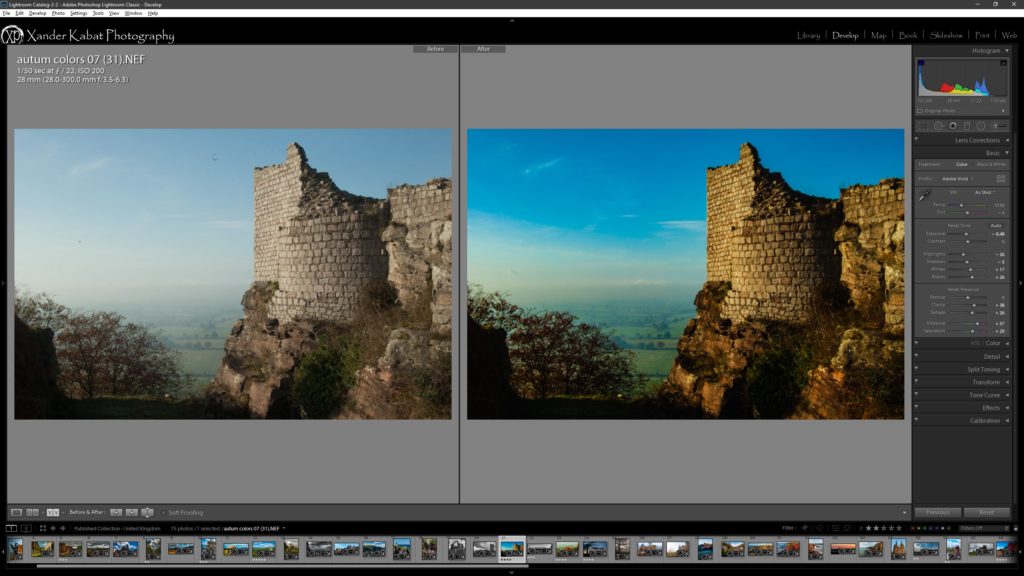
Photo manipulation: Is more accurately digital art and graphic arts. Photo manipulation involves changing or misrepresent the reality of nature via the photo. It is adding or removing major aspects, or removing or changing the background of the photo, combining two (or more) unrelated images, or a host of any other changes that were never in the photo the camera took. In other words, Photo manipulation has no basis in reality. This is most seen in advertising and other none-real-life situations. As a rule of ethics, photographers SHOULD NOT manipulate their photos to this extent without acknowledging it. It is usually not allowed in competitions or at least have a separate category.
Wondering what post-processing is?
A camera is only a tool used to capture and record light and post-processing is the key to a great image.
When you write something how often do you have to go back and polish it? There is no difference. Think of post-processing as polishing your work. Your Camera captured the data, but what you saw was affected by what you and what you felt when you took the photo. When you see with your eyes, your brain processes an image, it translates colour, it focuses on what is important to you. Your brain post-process the image. When you shoot straight to JPEG, your camera’s firmware does this (just not very well and to a standard algorithm). Recreating that emotion by using the data your sensor collected is the art of photography. Without emotion, a photograph is just a picture. That is what processing is, it’s turning raw data into raw emotion. (okay that’s a bit much for me).
My Name is Xander and I post-process.
Sometimes a lot sometimes very little but I do. I use Adobe Lightroom.
Lightroom is the gold standard for post-processing. The learning curve is steep, but it is the best. Lightroom was built to enhance data, which is there, it is not designed to do much more then what you could do in a darkroom (yes much more efficiently but). Lightroom can bring an image to life. One of the best aspects of Lightroom is that is “non-destructive editing” (basically it saves the edits separately to the image) so you can play if you don’t like it reset and start again.
I do as little post-processing as possible to achieve the image I want. If your goal is to achieve an image that is realistic (and assuming you have a decent capture) you should be able to do this easily and quickly. Artistic result may take a bit longer.
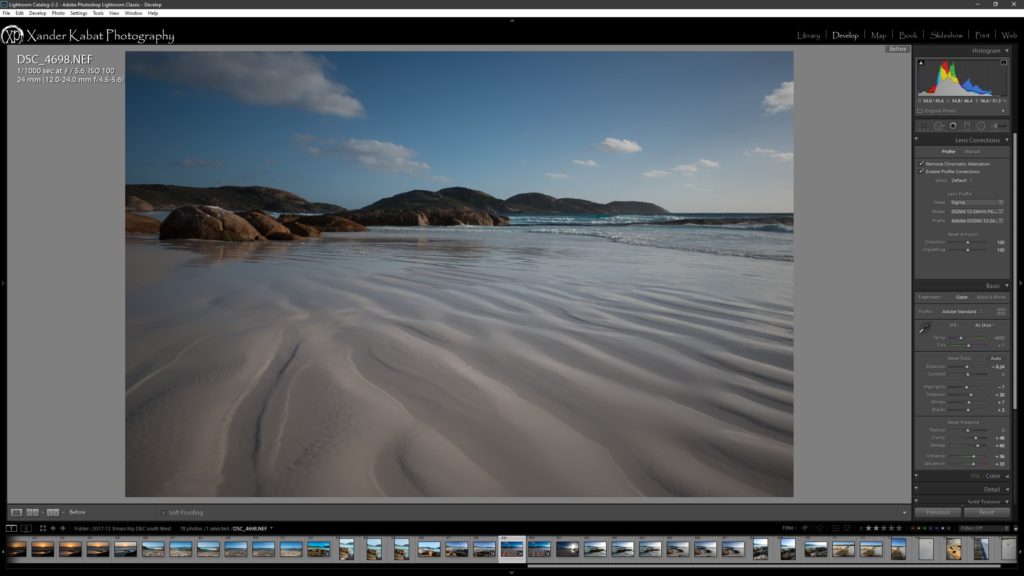
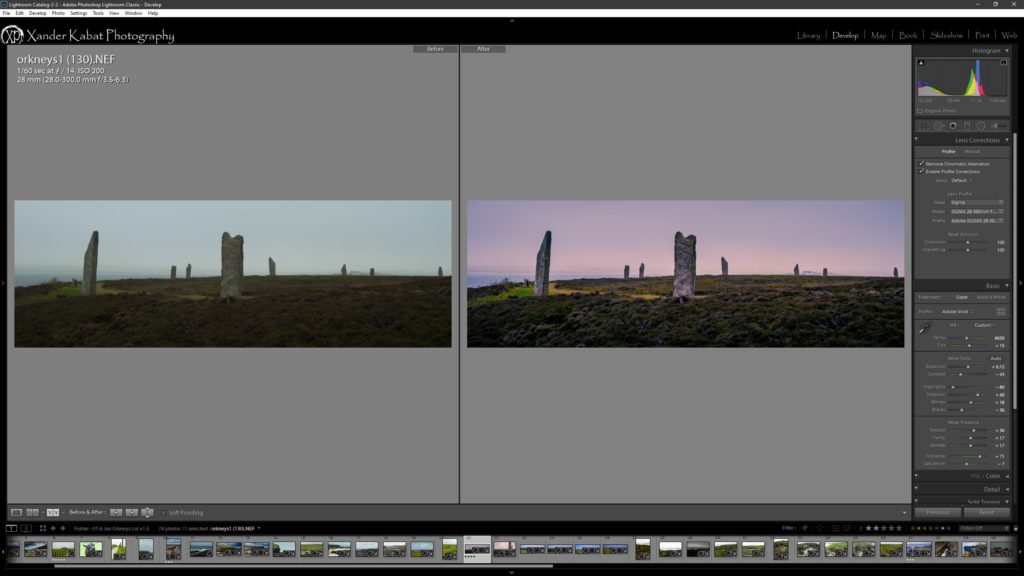
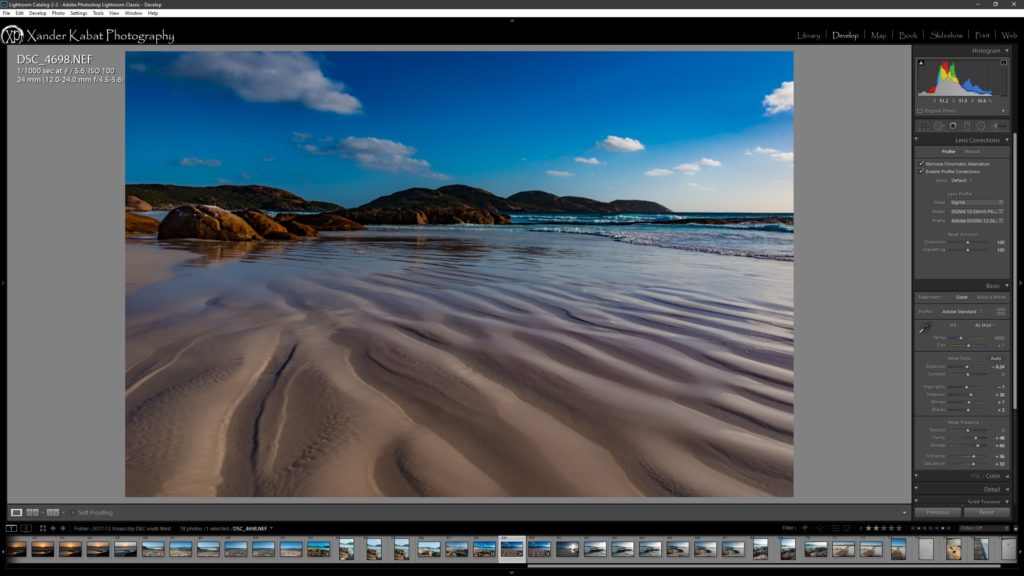
My basic post processing workflow is relatively simple. Pretty much every image I take goes through the following process.
- Lens Correction (as part of my import settings)
- Remove Chromatic Aberration (check box)
- Enable Profile Corrections
- Colour profile to Adobe Vivid (as part of my import settings)
- Crop & Straighten – To clean up and correct any issues with composition.
- White Balance – To correct any colour casts and ensure the image colour is as accurate as possible.
- I usually try with Auto then the dropper
- Exposure – To improve the overall tonality and dynamic range of the image
- Presence:
- Contrast / Clarity &/or Dehaze– To bring back any missing punch and bring out emphasis and detail.
- Highlights/Shadows/Whites/Blacks – To bring it all into balance
- Vibrance and Saturation – for pop (pro-tip keep this to a minimum or your image looks fake and adds noise.)
- Sharpening / noise reduction– Where necessary the last step is to apply selective sharpening to bring out any key details.
I shoot all my images in RAW with Adobe Lightroom being my editing software of choice. This gives me the power to create the above in only a few minutes.
This will be discussed in a later blog but at least for post-processing Basic composition and Exposure are the most important aspects of the capture. Remember “shoot to the left” or “expose for the highlights process for Shadows”.
Click here to buy *Adobe Lightroom, This is an affiliate link, I get a tiny commission if you buy through this link. So help support me supporting you with these educational posts.